You can see what equipment and materials you’ll need for this process below, along with the typical costs for each item. We will also outline each step you must take to properly stagger vinyl plank flooring.
If you’re asking yourself how to stagger vinyl plank flooring, the best way to ensure success is simply to plan. Learn how much space should be left between the end joints of adjacent plank rows; if the planks are 2 to 3 inches wide, 6 inches is a good place to start. The spacing between wider planks can range from 8 to 10 inches.
Keep reading.
Prep Steps before Staggering Flooring Planks
Your vinyl plank flooring patterns will lose some of their luster if you skip these important steps.
- Measure the width of the roomand divide that number by the width of the planks you are using. This will tell you how many full rows of vinyl planks you’ll need. If you’re still having trouble understanding this idea, the example in the next point will help.
- Determine the length of the last row. If it is less than the width of a normal plank, cut the planksfor your first row so that they are the same width as the last row. Your floor will be balanced as a result. Here’s the example: Let’s say you’re working with 5″ planks, and your floor is 154″ across. 154/5 = 30 remainder 4. Your floor will have 30 full planks with 4″ left over. Therefore, rip your first row of planks to be 2″ wide. The last row will be 2″ too wide as well – nicely balanced.
- In the room where you will install the flooring, remove your planks from their packaging. The planks from the various packages should be mixed together. Why? If the boxes contain planks from different “runs” of the flooring, and likely they are, they might have slight color differences. By mixing them, you can prevent one side from being noticeably darker on one side and all lighter on the other.
Read the flooring’s installation instructions as well. Using 1/4-inch spacers between planks and walls, for example, will be a reminder to do so.
Tools and Supplies You Will Need
- Tape measure
- ¼ inch spacers
- Pencil
- Utility knife
- Mallet
- Tapping block
- Insulation
- Vinyl planks
Step-By-Step Guide to Stagger Vinyl Plank Flooring
Follow these steps to create a staggered pattern for your new vinyl floor.
Get Familiar With H-Joints and Step Patterns
In order to prevent the formation of step patterns and H-joints, you should place the planks as randomly as you can when racking or staggereding them. These two patterns are the most common rookie mistakes when it comes to installing vinyl flooring.
When the end joints of the first row of planks and the third row of planks meet, for instance, this creates an H-joint. This results in the formation of an H pattern. This pattern detracts from the floor’s aesthetics and makes it clear that it was not installed professionally.
The risk of the planks becoming loose and falling apart in the future is also increased by an H-joint, which can make the floor weaker.
The step pattern is yet another faux pas to be aware of. The repetition of the first and second row’s spacing on the third row creates the pattern. Instead of the desired random, staggered pattern, this results in a regular pattern.
Understand the Spacing Rules
Correct plank spacing is crucial to staggering. You will have half of the problem of racking vinyl planks solved once you figure out how much space there should be between the end-joints of adjacent plank rows.
The distance between the end-joint of adjacent rows should, in general, be about 6 inches, though the size of the planks will determine this. Vinyl planks are typically 2 to 3 inches wide, so the 6 inches spacing rule would apply.
Although 8 inches is ideal, if your planks are wider, you can increase the spacing to a maximum of 10 inches. The likelihood of an H-joint is increased when the spacing is greater than 10 inches.
Determine the Number of Planks You Need
Use a tape measure to determine the width and length of the room where you want to install the vinyl planks. The quantity of planks required to completely cover the floor can be calculated by dividing the width of the room by the width of the planks.
You can use this calculation to determine the right dimensions for the first and last rows of planks, which must have the same dimensions for the spacing pattern to be correct. If the last row’s planks turn out to be smaller than the last row’s, you’ll need to trim the first row’s planks to match the size of the last row’s planks.
Determine the Appropriate Stagger Spacing
Establishing the minimum distance between the plank end-points is just as important as figuring out how many planks you’ll need and the dimensions of the first and last row planks.
Find the room’s length using a tape measure. Divide this number by the length of a full plank. You must begin the first row with a full plank if the result is greater than the recommended stagger spacing of 6 inches. Cut 12 inches off the plank, or one-third of it, if the result is less than 6 inches, and then begin the first row.
Suggested reading: Types of flooring you can put over ceramic tile includes ceramic tiles, laminate flooring, vinyl flooring, carpet, epoxy coating, cork flooring, wood flooring, and new fired tile. But, why choose these floorings? Below will give specific reasons.
Mix Up the Planks
The planks should be mixed after being taken out of the boxes. Instead of having planks of the same color shade installed on one end and the other shade installed on the other end, this ensures an even floor color shade. Staggering planks of various color shades for a more natural appearance is made easier by combining the boards.
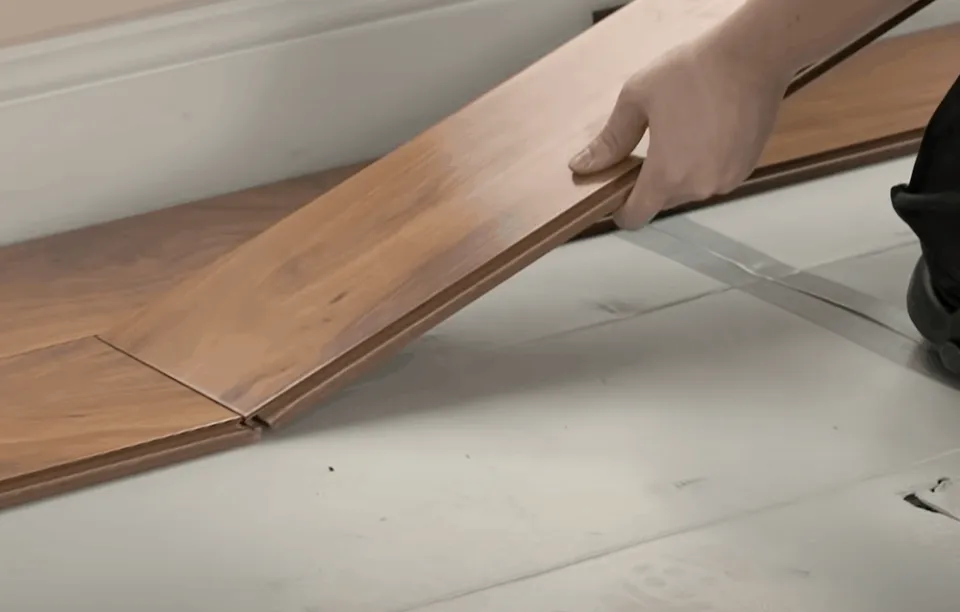
Install the First Board
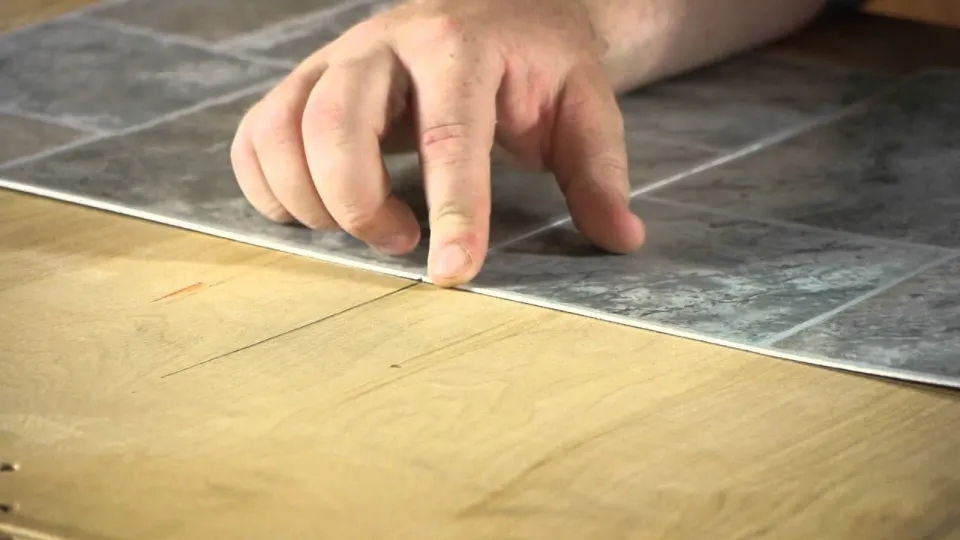
Take the top board out of the stack. Then, use a utility knife to trim off the tongue. The tongue side of the plank should be against the wall as you place it.
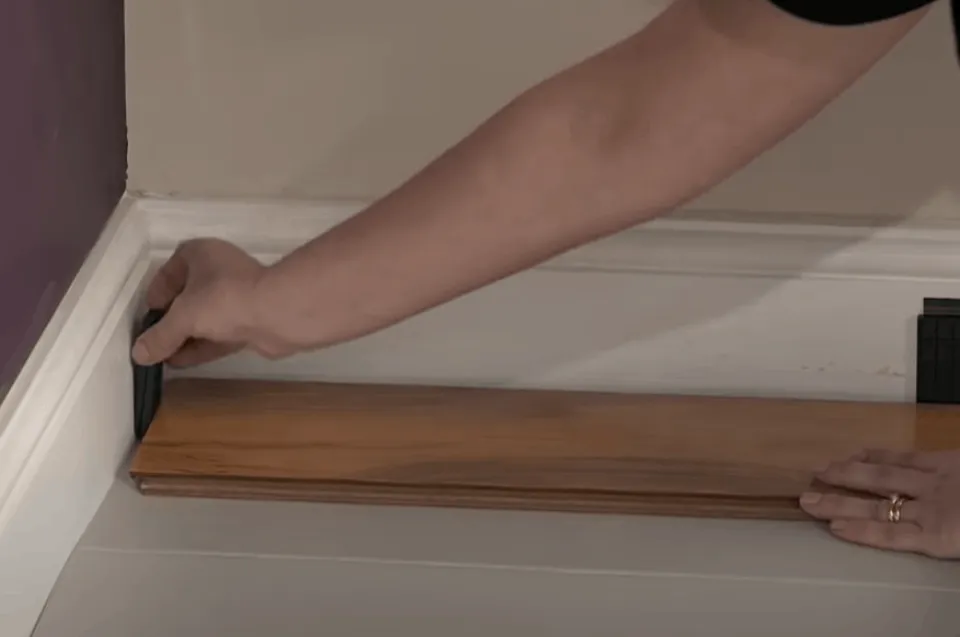
As you install the vinyl planks, be sure to leave a ¼-inch space between the walls. This space allows the planks to expand and contract without buckling.
Lay the next and the next plank after the first one is down until the wall is completely covered. If the last plank in the row is less than 6 inches, cut off a bit of the first plank to allow the last piece in the row to be longer than 6 inches. Keep the scraps and use them to begin new rows.
Install Second-Row Planks
Start the second row with the leftover plank from the first row. Lay the plank out, making sure that its end is at least 6 inches away from the first row’s closest joint. This layout allows you to stagger the first and second rows and the other rows that will follow.
When you get to the end of the second row, you can cut the plank to fit. Not using the offcut to start the third row staggered will result in a pattern that is similar to the step pattern that you were trying to avoid in the first place.
To start the third row, pick up a whole plank and cut it into a random length that allows a minimum spacing of 6 inches from the closest joint. Avoid forming an H-joint.
Start the fourth row with the leftover fabric from the second row. The third row’s offcut can be used to begin the fifth row. Cut up a fresh plank at random lengths to begin the sixth row. Use the fourth row’s leftover material for the seventh row. Continue with this pattern until you fill-up the entire room with the vinyl plank flooring.
All vinyl floor planking requires is that simple spacing.
Additional Info to Know
- The “H” problem: When the seams of the first row line up with the seams of the third, this forms an H-joint. This pattern can unnecessarily draw attention to your flooring because it doesn’t give it a natural appearance.
- The “Step” or Problem with lightning: The flooring’s step pattern is also affected. Use your cutoff planks to start each subsequent row to avoid this. The seams ought to fall in a random order due to the various lengths of each cutoff. In order to prevent the seams from being too close together, look at the previous two rows if you run out of cutoffs after a few rows and cut the first plank of the following row from those rows.
- As a general rule, leave at least 6 inches between adjacent row seams for 5-inch wide planks. Raising the minimum to 8–10 inches is appropriate for planks wider than 5 inches. However, exceeding 10 inches may make it challenging to avoid H-joints.
- If your utility knife blade gets worn out, replace it right away. The edges of the vinyl planks may become jagged due to a dull blade.
Why Do You Need to Stagger Vinyl Plank Flooring?
There are two main reasons that vinyl plank flooring needs to be staggered;
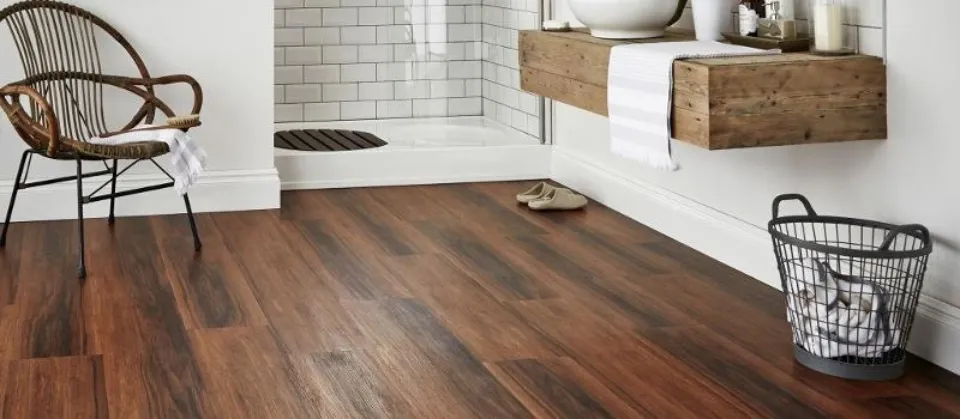
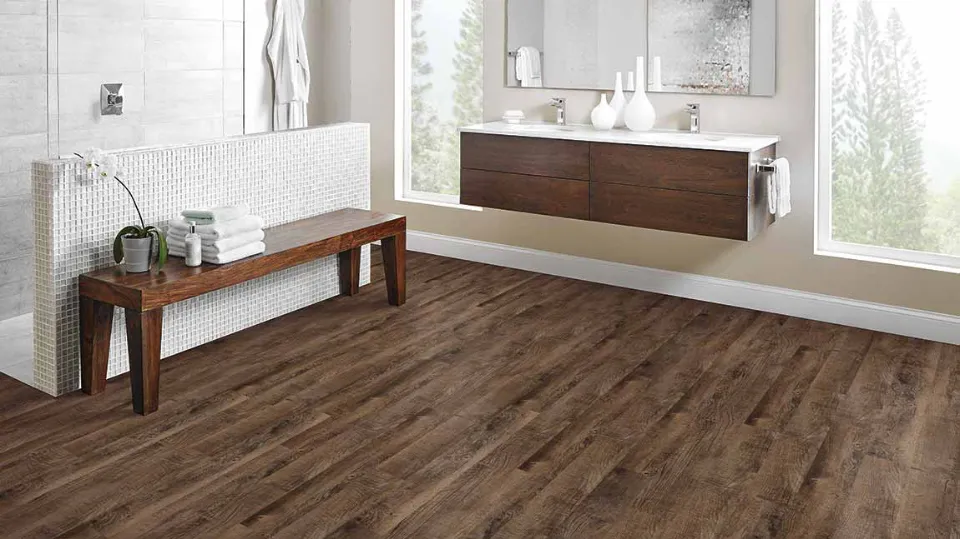
- for a more natural and attractive appearance.
- Real hardwood floors have staggered seams, so imitating this creates a more organic appearance.
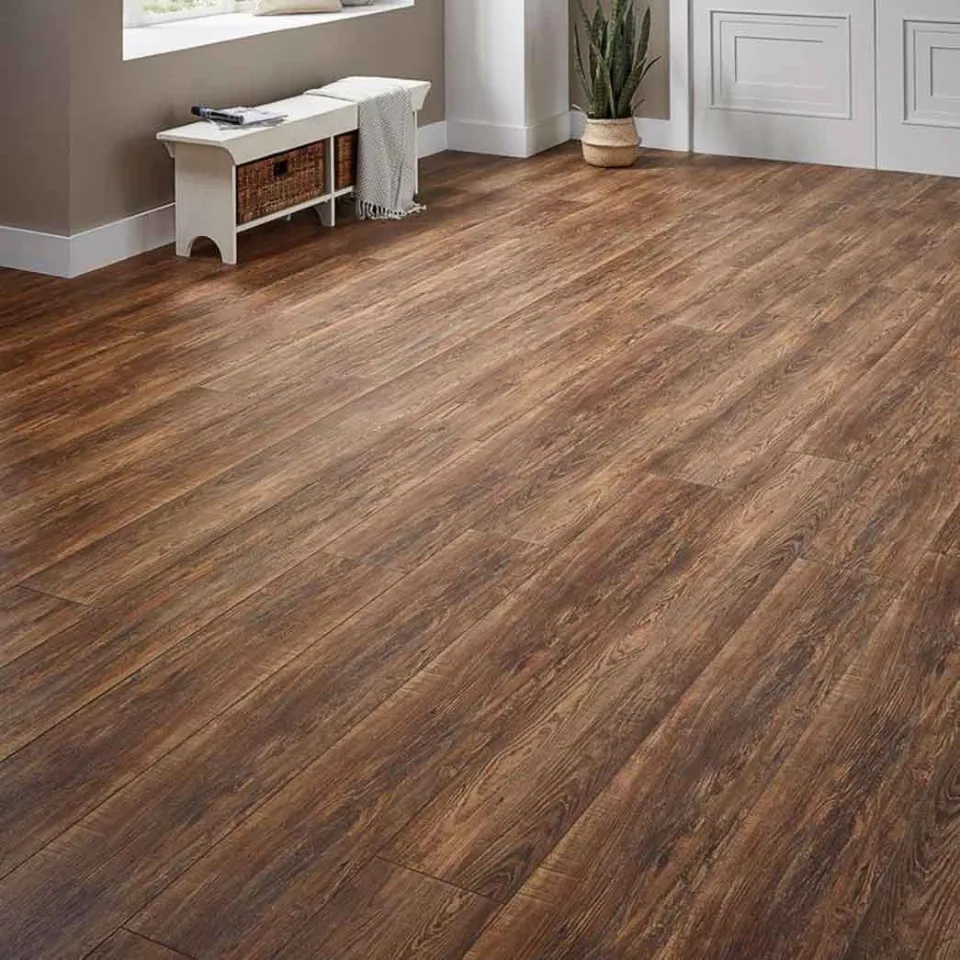
- Your eye is drawn to patterns and aligned objects. Your flooring will disappear into the distance if your seams are spaced haphazardly.
- for an installation that is better structurally.
- Seams in the flooring may pop as your subfloor shifts over time. The likelihood of movement is decreased by staggered seams, which help lock your flooring in place. Although vinyl plank flooring is a floating floor, these same principles apply.
FAQs
Are You Supposed to Stagger Vinyl Plank Flooring?
Keep an eye on the pattern of each plank to avoid placing too similar pieces next to each other, which can make the floor look manufactured. Stagger the seams of your boards as well as using your offcuts where possible. The majority of manufacturers advise spacing seams apart by at least 6 inches.
How Much Should You Stagger Vinyl Plank Flooring?
Installers will need to measure and cut the planks to fit tightly against the far wall. To maintain the integrity of the floor, do not align the short ends of planks in adjacent rows. Remember, the seams should be staggered at least eight inches away from each other among adjacent rows.
How Do You Randomly Stagger Vinyl Plank Flooring?
For row two, score and snap the first plank in half. Its end should be at least 6 to 8 inches apart from the closest seam in row one. As a result, there will be a random arrangement of seams between adjacent rows.
Does Floor Have to Be Perfectly Level for Vinyl Plank Flooring?
But, just like with any other permanent product, it’s imperative that the existing floor is clean and dry, in excellent condition, and most important, level. For the vinyl plank flooring next to it not to have different heights, a level, flat floor is essential.
How Do You Start the First Row of Vinyl Plank Flooring?
Lay the first row of vinyl plank flooring along the wall, leaving the manufacturer-recommended amount of expansion space between the plank’s edge and the wall (usually about 1/4-inch). Make sure the cut edge of the planks is facing the wall if they have been cut.
Summary: How to Stagger Vinyl Plank Flooring?
You only needed a few minutes and a quick Google search to learn how to stagger vinyl plank flooring, as you can see! Just remember; Keep your starter at least 2″ longer or shorter than the previous two starters, and randomize your starter lengths. With that information in hand, you’ll finish this project quickly! It’s also a good thing because tomorrow is predicted to be sunny and in the seventies. You don’t want to be stuck in your basement all day; you want to be out on the golf course or lounging in your hammock. Therefore, finish that floor, exit the cellar, and rejoin society. You can do this!
If you have any questions, please leave a comment. My Prime Home tries to give you the best home improvement information. Don’t forget to share the post. Thank you for reading.
Read about