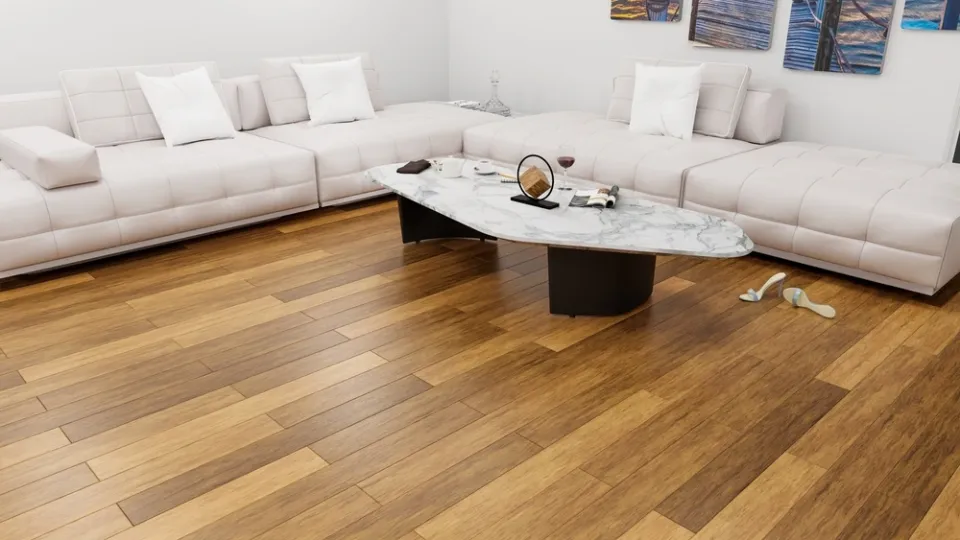
As long as you have the right tools and take the proper precautions, installing engineered wood flooring is not particularly difficult. To help you through the process and make sure your new flooring looks fantastic for years to come, we’ve put together this useful guide in collaboration with our experts.
So, how to install engineered hardwood? Acclimate the Boards, Remove the Base Trim, Remove the Old Flooring (as Needed), Prep the Subfloor, Trim the Door Moldings, Lay Down Underlayment, Prepare for the First Row, Install the First Row, Install the Subsequent Rows, and Reinstall the Base Trim.
Continue reading for more information.
What is Engineered Hardwood Flooring?
Engineered hardwood floors are more resilient to changes in moisture and humidity than solid hardwood because they are constructed from layers of real wood compressed together.
Depending on the subfloor, there are four different installation techniques you could use if you’ve decided to install engineered hardwoods: glue, nail, staple, and float.
Whichever method you choose, you’ll need to prep the subfloor by cleaning, leveling, and checking and adjusting door clearance. Follow the manufacturer’s recommendations for acclimation times after reading them.

When to Install Engineered Hardwood Flooring
To minimize damage, install engineered hardwood flooring after the drywall, plumbing, painting and electrical work have been completed.
Before installation, engineered hardwood flooring needs to be given at least 72 hours to acclimate to the space. Maintain a temperature range of 60 to 80 degrees Fahrenheit and a relative humidity range of 30 to 50%. Be mindful that certain tasks, such as painting and drywall work, can significantly increase the humidity in a space.
If installing the engineered hardwood flooring over a concrete subfloor, the concrete must cure for at least 60 days before the floor is installed.
Safety Considerations
Asbestos might be present in the adhesives under your current flooring. As long as the materials that contain asbestos are not cut, sanded, or chipped, as these actions can release asbestos fiber in the air, installing a floor over asbestos is generally safe.
It is safest to hire a company licensed in asbestos remediation to complete the work if you decide to remove the asbestos.
Tools
- Air floor stapler and compressor or manual floor nailer
- Electric miter saw
- Jigsaw
- Electric multi-tool or jamb saw
- Circular saw or jigsaw
- Tape measure
- Straight edge
- Rubber mallet
- Pry bar
- Floor tapping block
- Pencil
Materials
- Engineered hardwood flooring
- Vapor retarder
- Expansion gap joint spacers
- Wood filler to match flooring

How to Install Engineered Hardwood Floors?
Here is an easy step-by-step guide on how to install engineered hardwood floors:
Acclimate the Boards
In order to acclimate the flooring boards to the humidity and temperature of the room, unpack and lay them out in the space where they will be installed. Observe the acclimation time guidelines provided by the manufacturer. In garages or basements, do not store engineered wood flooring.
Remove the Base Trim
Remove the shoe molding (the small rounded molding in front of the baseboard) from around the room, using a pry bar. Also remove the baseboards, if desired; this is typically optional.
Remove the Old Flooring (as Needed)
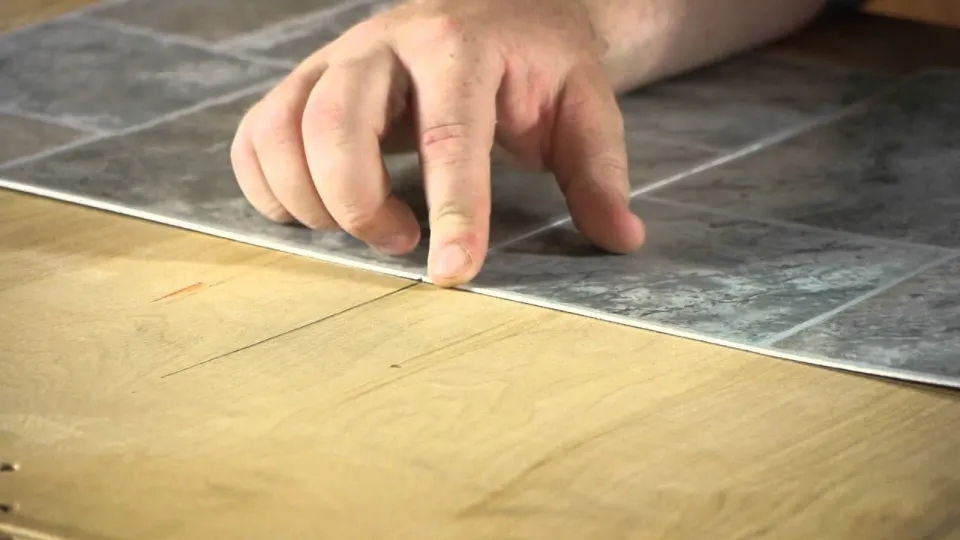
When necessary, take out the old flooring. Carpet and ceramic tile floors will probably need to be removed, but some types of vinyl flooring can frequently be covered directly with a new engineered wood floor.

Prep the Subfloor
By nailing or screwing down any loose areas, leveling it, and making sure there are no dips or other flaws, you can prepare the subfloor. Your new installation will be more effective the more level and smooth your floor is.
Trim the Door Moldings
Trim the bottom of the door casing moldings so the new flooring can slide underneath. For this, specialized flush-cutting handsaws are offered. An electric oscillating tool with a flush-cutting blade can also do this job easily.
Lay Down Underlayment
Install the recommended underlayment for nail-down or floating floor installations, as applicable. Standard underlayment for nail-down is builder’s paper, rosin paper, or felt. A foam underlayment that adds some cushion and reduces noise is typically necessary for floating floors.
Prepare for the First Row
Get ready for the first row of flooring boards:
For nail-down floors: Snap a chalk line that represents the leading edge of the first row of boards. Between the wall and the trailing (outside) edges of the boards, leave the recommended expansion gap.
For floating floors: Place wood or plastic spacer blocks along the wall where you will start. Each manufacturer will have a recommendation on how much space to allow, but 1/4 to 3/8 inches is typical.

Install the First Row
Begin installing a row of flooring strips along one long wall:
For nail-down floors: Place the boards so that the chalk line is parallel to and the tongue edges are facing outward. Finish nails driven through the top face of the flooring (also known as face-nailing) are used to secure the boards.
For floating floors: Organize the first row of boards so that the tongue edges are facing the wall and pressed up against the spacers. Place the first row of boards along the starting wall. This first row of planks’ end joints most likely have interlocking joints. Using a wood block and hammer, firmly secure them.
Install the Subsequent Rows
Lay out the second and subsequent rows so the joints between boards are offset, or “staggered,” from one row to the next, for a natural appearance. Around obstructions on the floor, trim and fit flooring pieces as necessary.
For nail-down floors: Set each new board so its groove fits over the tongues of the boards in the preceding row. To fasten the boards through the tongue edges, use a flooring nailer or stapler (a technique known as blind-nailing because the nails or staples are covered by the next row of boards).
For floating floors: Install the planks for subsequent rows by holding them at an angle, inserting the tongue of the new board into the groove of the existing board or boards in the row before it, and pressing the new board flat to interlock the pieces. If necessary, use a hammer and a wood block to tap the boards together to tighten the joints.
Reinstall the Base Trim
Reinstall (or replace) the baseboard trim (as applicable) and the shoe molding, and give the floor a thorough cleaning with a vacuum and hard-flooring attachment.

When to Call a Pro
Installation of engineered hardwood flooring requires a high level of skill and is sometimes best left in the hands of trained floor installation specialists. A whole-house installation or a project with many intricate cuts, such as flooring or stairs that are oriented diagonally, may require hiring professionals.
Most engineered hardwood flooring is prefinished. Since there is less room for error with prefinished flooring than with unfinished (or site-finished) flooring, it can be trickier to install. It’s challenging to sand and cover up damage caused during installation. If installing prefinished flooring makes you uncomfortable, think about hiring flooring experts.

FAQs
Is It Better to Glue Or Float An Engineered Wood Floor?
Many installers and manufacturers prefer the glue-down method because of its superior stability. The engineered hardwood feels and sounds more secure after being glued down because there is less shifting and creaking. On any kind of subfloor, even one that is uneven, you can glue down floors as well.
Can I Install Engineered Hardwood Myself?
There are four ways to install engineered wood flooring, and all can be done by yourself. While the floating floor method is more suited to a do-it-yourself flooring project, glue-down, nail-down, and staple-down methods also function without a professional.
How Should Engineered Hardwood Be Installed?
The great thing about engineered hardwood is that it can be installed a few ways, depending on the situation! The three recommended ways is floating, gluing, or nail/staple installation.
Do You Need Underlayment for Engineered Hardwood?
Underlays are helpful for any type of engineered wood flooring. Although you can install engineered wood floors without an underlayment, the added support and insulation greatly improve the look and feel of a space. You must research which materials are best for the type of wood floor you have if you want to get the most out of your underlayment.
Summary: How to Install Engineered Hardwood?
Be sure to follow the manufacturer’s instructions after installing hardwood flooring over concrete. For instance, we demand that installers roll and move a 100–150 lb. roller after installation to ensure proper adhesive transfer. Additionally, the area’s traffic must be halted for eight to ten hours. After installing engineered hardwood flooring, heavy traffic shouldn’t start again for 24 hours.
Note: Turn off the heat for 24 hours prior to, throughout, and after installing engineered hardwood floors over radiant heated subfloor.
If you have any questions, please leave a comment. My Prime Home tries to give you the best home improvement information. Don’t forget to share the post. Thank you for reading.
Read about


