Today’s vinyl flooring is light years better than the peel-and-stick kind we remember from way back when, but it’s as easy as ever to install. Here’s how to install vinyl plank flooring, when to install vinyl plank flooring, and the cost to install vinyl plank flooring.
Inspect the subfloor, and install luan if necessary. Install new underlayment, if necessary. Start the first course. Install the vinyl plank flooring.
Keep reading.
How to Install Vinyl Plank Flooring?
While installing vinyl plank flooring requires some specialized tools and techniques, it’s nevertheless a DIY-friendly job. You can complete the project by using the advice provided below.
Inspect the Subfloor, and Install Luan If Necessary
One thing that hasn’t changed about installing vinyl flooring—or any type of flooring, for that matter—is the need for a perfectly smooth and level substrate or subfloor. Evaluate the state of the existing subfloor to see if it can be used as is or if adding a layer of luan is required.
To ensure that floor penetrations line up with cutouts in the existing floor, careful measuring must be done before installing the replacement luan. Using a saber saw, make holes for penetrations such as heaters and pipes.
Screws spaced 8 inches apart in each direction should be used to secure the luan to the subfloor. Patching compound should then be applied to all joints and screw holes. Just make sure that fastener heads are positioned below the underlayment surface so they don’t show through to the finished floor.
Install New Underlayment, If Necessary
You’ll need to lay a roll of underlayment if the vinyl plank flooring of your choice doesn’t already have one attached to the underside. Keep in mind that peel-and-stick flooring does not need underlayment.
Making sure not to overlap the seams, place the underlayment from wall to wall. Instead, use underlayment or housewrap tape to tape the seams together.
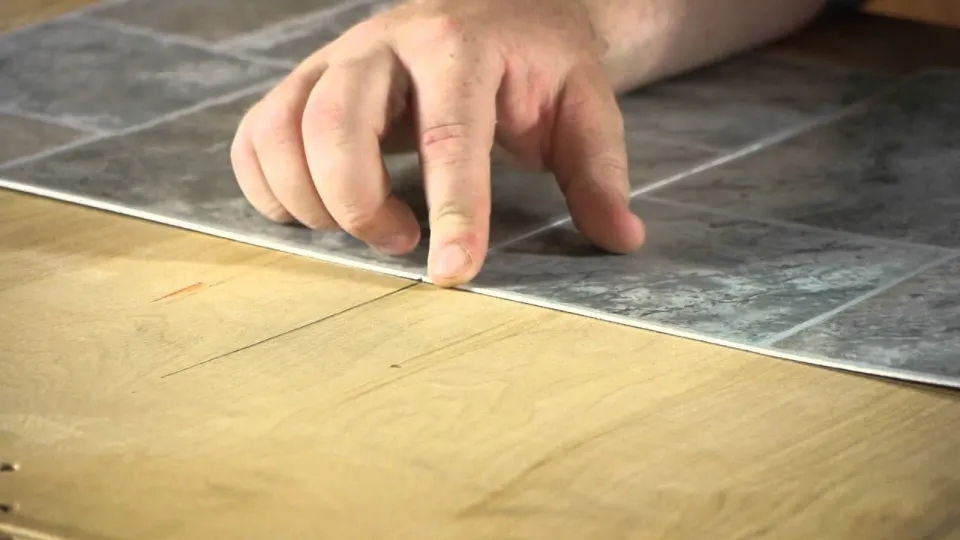
Start the First Course
Measure from one end of the room to the other, then divide that distance by the width of a vinyl plank. The decibel amount represents how wide the final plank will be at the other side of the room (in percentage). This percentage must not be less than 2 inches, so perform some quick math to make sure. Lay the first row across the wall in a straight line after making any necessary adjustments.
Divide 107 by 5.5 inches, for instance, if a room is 107 inches long and the vinyl flooring is 5.5 inches wide. The result is 19.45. The decimal value (.45) denotes that 45 percent of 5.5 inches is equal to roughly 2.5 inches (5.5 x.45), which is a suitable width for the last row of planks. Should the width be less than 2 inches, cut the first plank slightly thinner to achieve a wider final row.
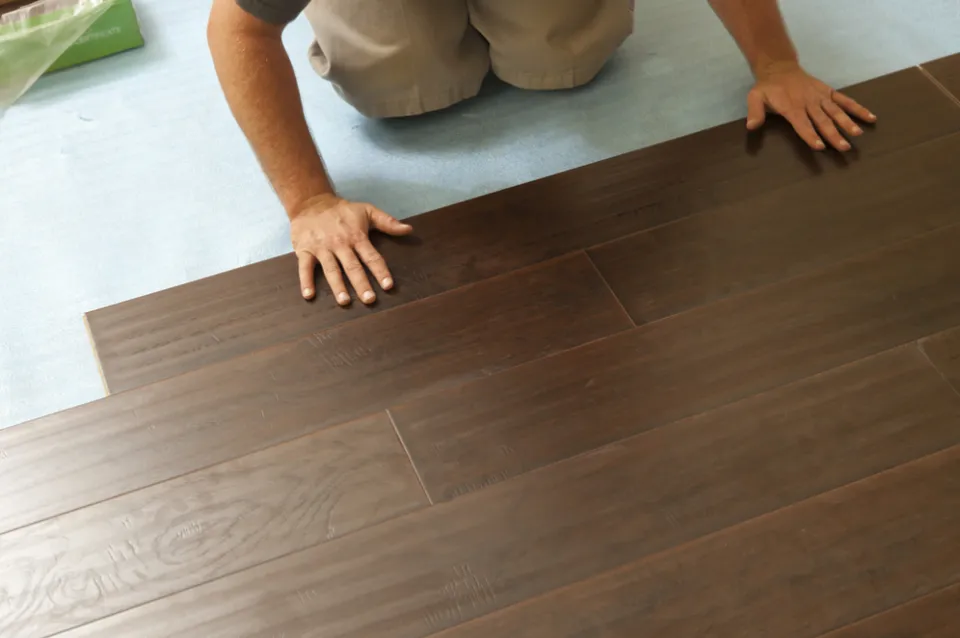
Install the Vinyl Plank Flooring
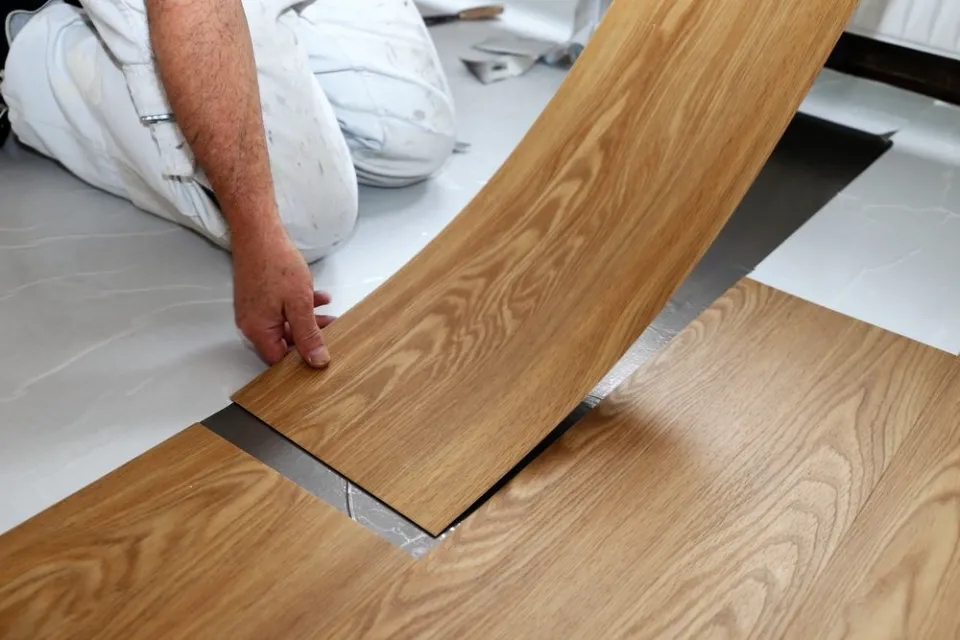
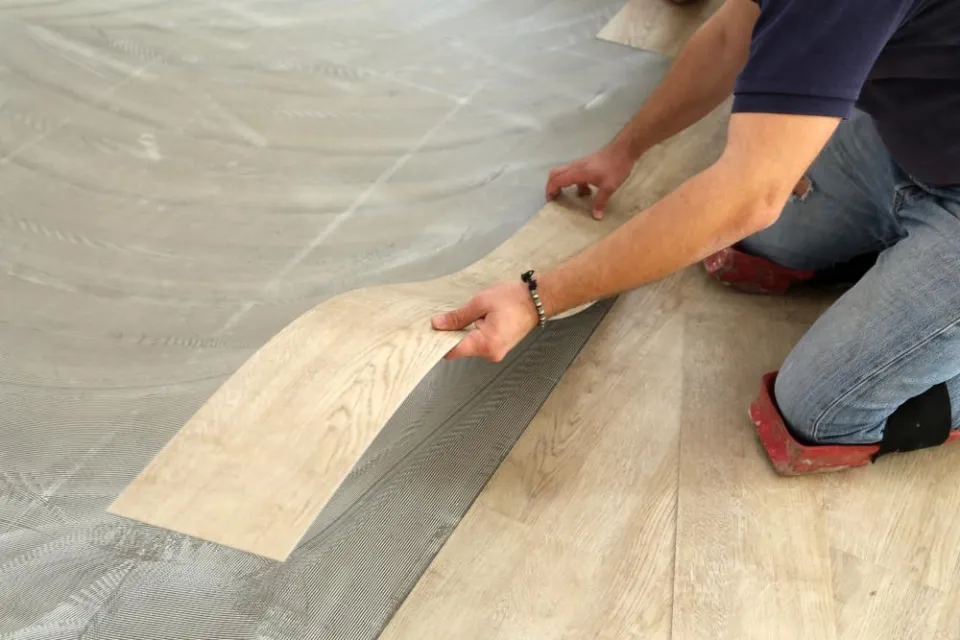
Start putting in the vinyl flooring planks.
- When installing peel-and-stick flooring, take off the backing, hold the plank so that only the edge touches the row before it, then adjust the placement before laying the plank flat and pressing it into place. Roll the adhesive against the substrate to flatten it.
- For tongue-and-groove vinyl plank flooring, slide the tongue of the next course into the groove of the previous course and tap it into place with the tapping block. incearca incearca judeţ
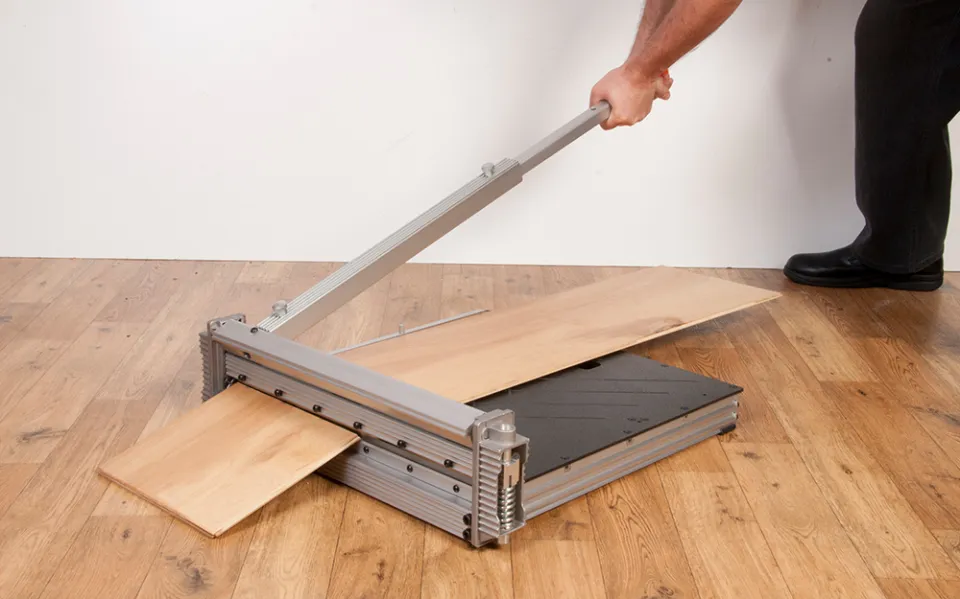
For any cuts, use the tape measure or mark the plank in place. Slice and cut the planks to length with the utility knife. Prior to making additional scores and removing the cut, use the scribes to transfer contours to the planks for round cuts. Ensure that seams are separated by 3 or 4 inches as well.
When to Install Vinyl Plank Flooring?
A vinyl plank flooring installation can happen successfully in any season and in most climatic conditions. Simply make sure that the temperature is higher than 50 and lower than 100 degrees Fahrenheit. Vinyl plank flooring, unlike other types of flooring like laminate or wood, does not need to acclimate to the room before installation, though make sure to check the instructions for your particular product. After finishing other trades such as drywall, plumbing, painting, and electrical, install the flooring.
Safety Considerations
Be aware that some adhesives or flooring materials may contain asbestos if you intend to remove current flooring. Asbestos may be released into the air during cutting, sanding, chipping, and other operations that break up asbestos-containing materials. It’s typically safest to leave asbestos in place with a floor covering over it.
Cost to Install Vinyl Plank Flooring
Vinyl plank flooring is among the least expensive to install among high-quality flooring options. Vinyl plank is usually priced by the square foot and sold in boxes of 22 to 24 square feet, depending on the brand. It ranges in price from under a dollar to up to $5 per square foot.
In general, the higher the price of vinyl plank flooring, the better the quality. Thin or peel-and-stick materials could be less expensive options; however, modern peel-and-sticks are superior to older tiles. Higher quality, more expensive flooring is thicker, has built-in underlayments and moisture barriers underneath, and utilizes interlocking tongue-and-groove systems. You may see these products labeled as luxury vinyl plank flooring (LVP), but installing it isn’t any more difficult than it is for other vinyl flooring products.
When to Call a Pro
Like some other types of flooring, vinyl plank options are often best left in the hands of qualified floor installation professionals for large or difficult projects. Due to the substantial amount of flooring that must be installed, as well as challenging related tasks like moving furniture and removing baseboards, large projects, such as an entire house, can be challenging.
FAQs
Do Vinyl Floors Need Underlayment?
The short answer is that underlayment is not always necessary for vinyl flooring, but it might be depending on the building’s acoustic requirements.
How Do You Prepare a Floor for Vinyl Plank Flooring?
Prep your subfloor so that it’s clean, dry and level within 3/16-inch change per 10 feet. Use a self-leveler on low spots and/or sand high spots of wood or concrete. Vinyl flooring shouldn’t be sanded because asbestos might be present.
What is the Best Installation Method for Vinyl Plank Flooring?
Vinyl plank flooring is engineered to be installed in one of two methods: glue-down or floating. For a Do-It-Yourselfer, floating or click-lock vinyl flooring is often an easier method, as there is no adhesive or mess to deal with.
Should Vinyl Plank Flooring Be Glued Down?
Gluing your LVP is also more permanent so if you are not planning to continuously redo your floors, this is a great choice. It is also less of a hassle to replace planks if they get damaged. Simply remove the old plank and replace it with a new one. There are two different kinds of glue.
Do You Have to Wait to Walk on Vinyl Plank Flooring?
For a minimum of 24 hours after your new vinyl floor is installed, protect all the seamed areas, don’t walk on them or the seam sealer. After installation, keep the room at 68°F or higher for at least two days to give the adhesives time to set up properly.
Summary: How to Install Vinyl Plank Flooring?
Although installing vinyl plank flooring has both benefits and drawbacks, it is a relatively easy way to make a big impression in a space. A vinyl plank floor can give any room a brand-new, luxurious feel as long as the subfloor beneath it is in good condition. DIYers can learn how to install any kind of vinyl plank flooring by following the above steps.
If you have any questions, please leave a comment. My Prime Home tries to give you the best home improvement information. Don’t forget to share the post. Thank you for reading.
See also: