Find out how to remove a kitchen faucet with a new one. Easy to follow steps.
In general, you need to prepare tools. Then spray with penetrating oil, shut off water, disconnect water supply, disconnect the sprayer, remove the faucet mounting nuts, pull the faucet and sprayer up and out, and remove kitchen faucet residue.
Tools Required to Remove a Kitchen Faucet
- Penetrating oil
- Headlamp
- 6″ Adjustable wrench
- Tongue and groove pliers
- Basin wrench
- Safety glasses
- White vinegar
- Towel or rag
How to Remove a Kitchen Faucet?
It’s not as difficult as it may seem to remove a kitchen faucet. You can follow the steps below as a roadmap for the procedure. Wearing safety glasses will ensure that you are shielding your eyes from debris and buildup, and a headlamp will enable you to see what you are doing underneath the cabinet.
Spray With Penetrating Oil
Sweaty pipes and high humidity levels inside a cabinet have a way of making things stick. With your safety glasses on, you’ll want to spray penetrating oil in a few areas:
- Both ends of the supply lines (at the shut-off valves and at the faucet)
- Both ends of the sprayer hose
- The large nuts holding the faucet to the sink

Shut Off Water
There should be two separate shut-off valves: one for hot water and one for cold water. Close both shut-off valves. The valves should be visible where the water pipes join the supply tubes that rise to the tailpieces on the bottom of the faucet. You must shut off the water at the house’s main shut-off valve, which is located close to the water meter, if the valves do not function (old ones may be frozen), are not present, or both (as is occasionally the case in older homes). (Before you install the new faucet, you should replace any shut-off valves that are broken or missing.)
Disconnect Water Supply
To catch any leftover water that may be left in the supply tubes after you move shut-off valves, place a bucket, small pan, or bowl underneath. Now unplug the cold and hot water supply tubes from the faucet tailpieces and from the shut-off valves. The shut-off valve should be held in place with a different wrench or pair of pliers if it starts to turn while you are trying to remove the supply tube nut. (Remark: It’s wise to replace the supply tubes when installing the new faucet if they appear worn or are difficult to remove.)
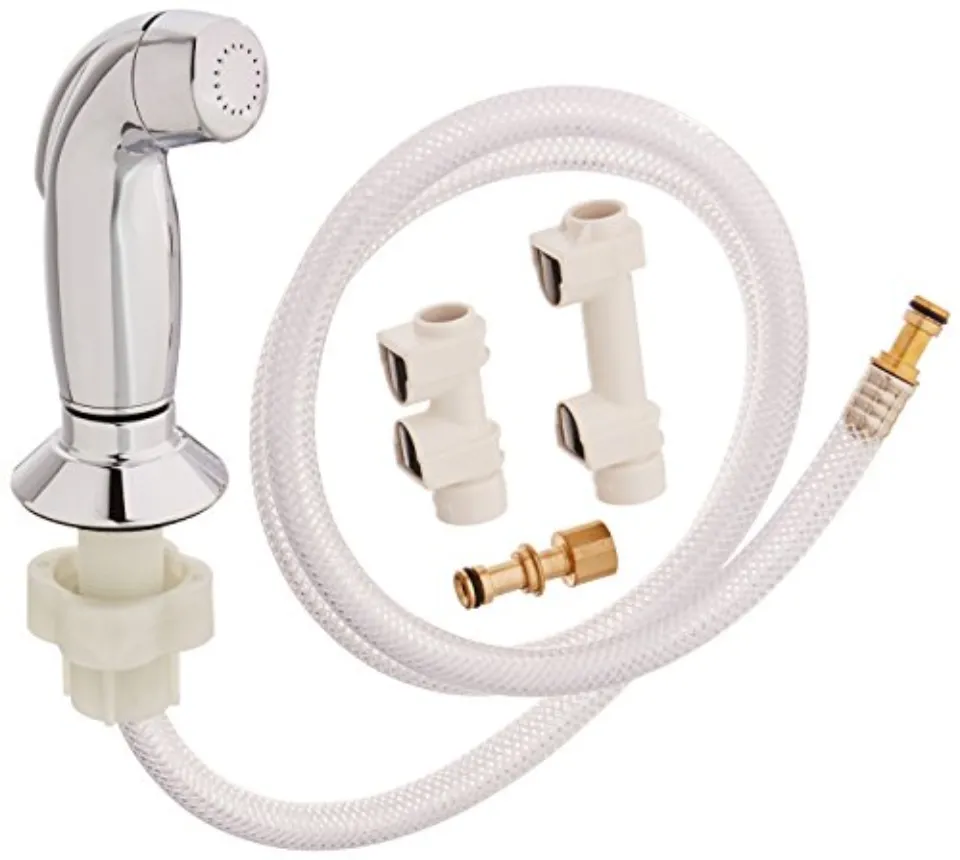
Disconnect the Sprayer
You must also unplug the sprayer if your kitchen faucet has one. The hoses typically have quick-connect fittings that attach to a fitting under the faucet. Simply squeeze the hose fitting until it separates from the faucet.

Remove Faucet Mounting Nuts
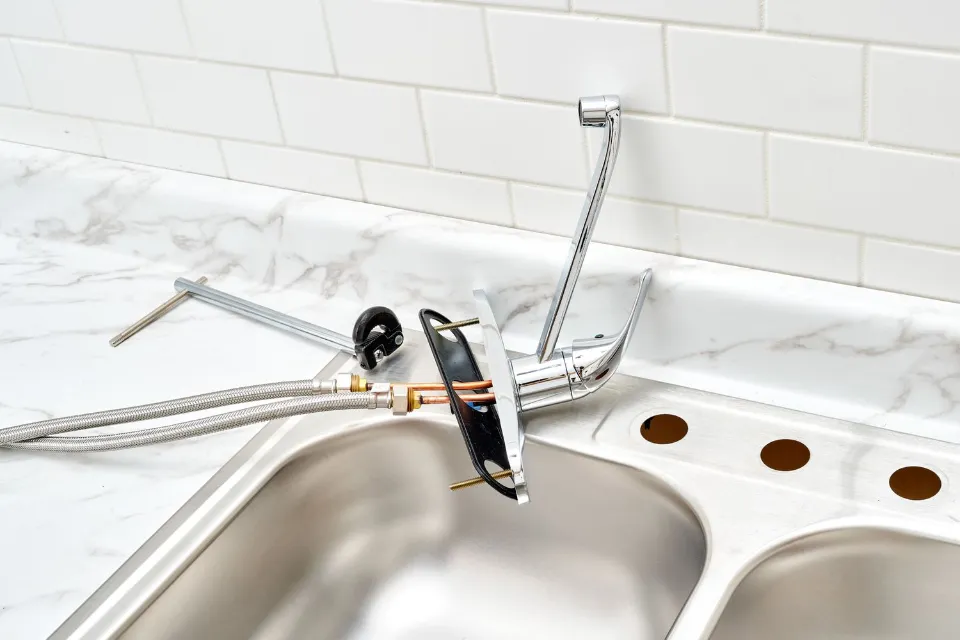
The nuts holding the faucet to the sink should be removed. The tailpiece of the faucet, which is high up beneath the sink and behind the basins, will be threaded with these. These mounting nuts may come in twos or ones, depending on the faucet’s design. The tight space between the base cabinet’s wall and the sink’s back makes it challenging to reach these nuts. A special tool called a basin wrench can make removing the mounting nuts easier. By rotating the nuts counterclockwise, you can get rid of them. Use penetrating oil on them and let it sit for a while if you’re having trouble turning them, and then try again.
Pull Faucet and Sprayer Up and Out
You can now remove your faucet since all of the mounting hardware has been taken out. It might feel a little bit stuck if it’s been there for a while, but a little wiggle should take care of that. A plastic base was likely also left behind, as you will see. If you’re reusing your faucet, you’ll want to save this base because it fits underneath the faucet and is unique to that particular model.
Remove Kitchen Faucet Residue
When you remove the faucet, accumulated gunk and goo are invariably left behind from years of use. Most simply wipe off, but for the more difficult buildup, a little vinegar on a rag usually works. If there are stains from hard water, soak the rag in vinegar and place it on top of the stain for ten minutes before removing it. Till the stain disappears, repeat this process.

Summary: How to Remove a Kitchen Faucet?
The first step in replacing a kitchen faucet with a new model is to remove the old one. In some cases, this can be a simple operation, but in other cases, it can be surprisingly difficult. In either case, having everything you need can make removing a kitchen faucet much simpler and less frustrating. Kitchen faucet removal and faucet installation preparation are demonstrated in the steps below.
In general, you need to prepare tools. Then spray with penetrating oil, shut off water, disconnect water supply, disconnect the sprayer, remove the faucet mounting nuts, pull the faucet and sprayer up and out, and remove kitchen faucet residue.
Thank you for reading.
Read about How to Replace a Kitchen Faucet?


