This step-by-step tutorial will show you how to replace a kitchen faucet yourself in less than an hour with just a few simple tools!
You are supposed to choose an appropriate replacement faucet, shut off the water valves, prepare your workspace, remove the old faucet, install the escutcheon (deck) plate, put the new faucet line through the hole, connect the water supply, check the installation for leaks and clean up.
Continue reading.
How to Replace a Kitchen Faucet?
Here are the details:
Choose An Appropriate Replacement Faucet
Get to know your current sink hardware before you head to the home improvement store to buy a faucet based only on its shape and finish. The two outside holes of a typical two-handle kitchen faucet are typically eight inches apart and are installed over a set of three holes.
Choose a replacement faucet that fits the same number of holes for the installation to go as smoothly as possible. If you have three installation holes, you can still update to a fashionable single-handle faucet. For this, you’d need to purchase a separate base plate, called an “escutcheon plate,” that matches the finish of the new faucet and extends long enough to cover up the unused holes.
Look underneath the sink to verify the locations of the holes and connections to make sure your new faucet will fit your sink with ease.
Before Replacing a Kitchen Faucet, Shut Off the Water Valves
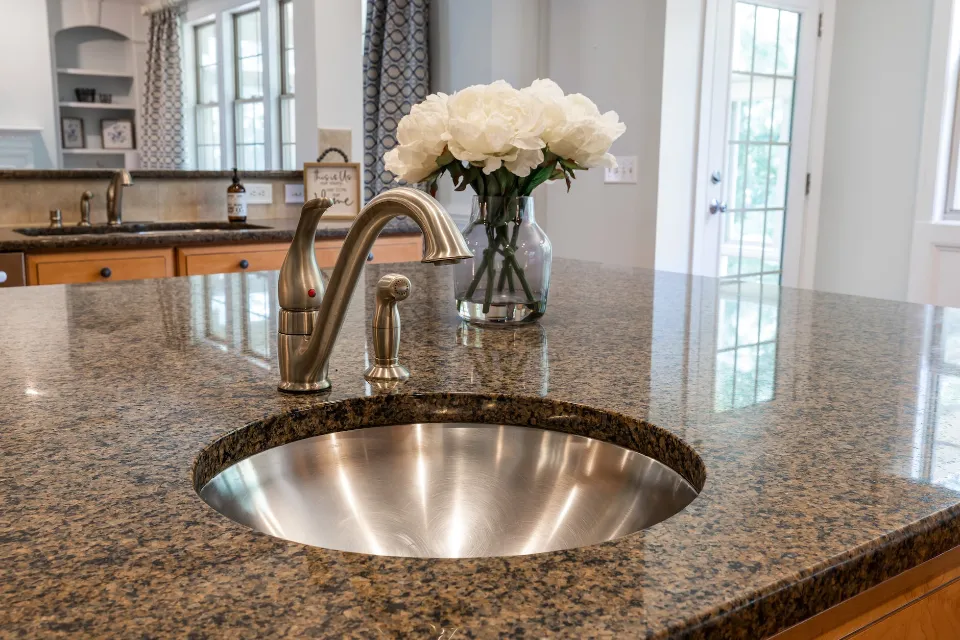
The water to the existing faucet should be turned off after gathering the necessary materials and the new faucet. The majority of the time, turning off the hot and cold water supply lines (connected to the underside of the faucet) is as easy as turning the On/Off valves under the sink to Off with just your fingers.
If your current faucet is more than a few years old, it’s not uncommon for the valves to be rusted or stuck, making manual movement of them nearly impossible. It’s a good idea to turn off your home’s main water valve (often found in a basement or crawlspace where the water line enters the house) before attempting to loosen a stuck shutoff valve. If you are unable to locate the main valve, you can use pliers to close the water valve at the meter, which is in your yard and covered by a small manhole.
Use heat from a hair dryer to loosen the valve so you can close it while the water supply is turned off. You can also gently push the valve to the Off position by grabbing it with locking pliers. The valve and/or the supply line could break if there is too much twisting pressure, though. An interruption won’t result in water shooting out and flooding the floor or cabinet if the water supply is turned off.
Prepare Your Workspace
Few home improvement tasks are as uncomfortable as trying to squeeze under a kitchen sink. This includes projects like painting baseboards, which require bending and stooping, or cleaning gutters, which require climbing and stretching. You have to crawl into the cabinet to see where the faucet attaches to the countertop, and you’re lying across an uneven surface because the inside floor of the cabinet is typically a few inches higher than the kitchen floor, which forces your back to arch awkwardly to accommodate the difference.
Put a small piece of plywood inside the cabinet as a small hack to ease the discomfort. The sheet should be long enough to support your back and rear while still being wide enough to fit through the door’s opening. Use six to eight quart-size paint cans (or cans of a comparable size) as supports for the end of the plywood sheet that extends into the kitchen; this should provide you with a flat surface on which to lie while you replace the faucet.
Remove the Old Faucet
The first step in removing the old faucet is to disconnect the water supply lines. If there are no shutoff valves and the water pipes are connected directly to the supply lines for the faucets, or if you’re replacing broken valves, shut off the main water supply valve to the house and cut the pipes below the connections with a hacksaw or tube cutter.
Prior to re-turning on the water to the house, make sure the new valves are shut. After the water lines have been cut off, use the basin wrench to remove the old faucet by loosening it.
Drill Additional Holes in the Sink If Necessary
With the old faucet removed, double-check the number of holes in the sink and the distance between the center of the left-most hole to the center of the hole on the far right. This is known as measuring “on center” (or “OC”), and is the industry standard for measuring sinks’ holes.
There must be more holes if the new faucet also requires changing the holes or going from one handle to two handles. In this case, you can bore new holes in the sink (or in the countertop behind, depending on your existing faucet configuration) to accommodate the new faucet.
While a skilled do-it-yourselfer can bore new holes in a granite or quartz sink or countertop, it is typically best left to a countertop contractor who has the tools necessary to do so cleanly and without damaging the countertop’s material.
Painter’s tape should be used to cover the area before drilling, and the centers of each hole should be marked. Make a pilot hole next. Put the center of a hole saw drill bit on the pilot hole and drill the hole using that bit.
Install the Escutcheon (Deck) Plate
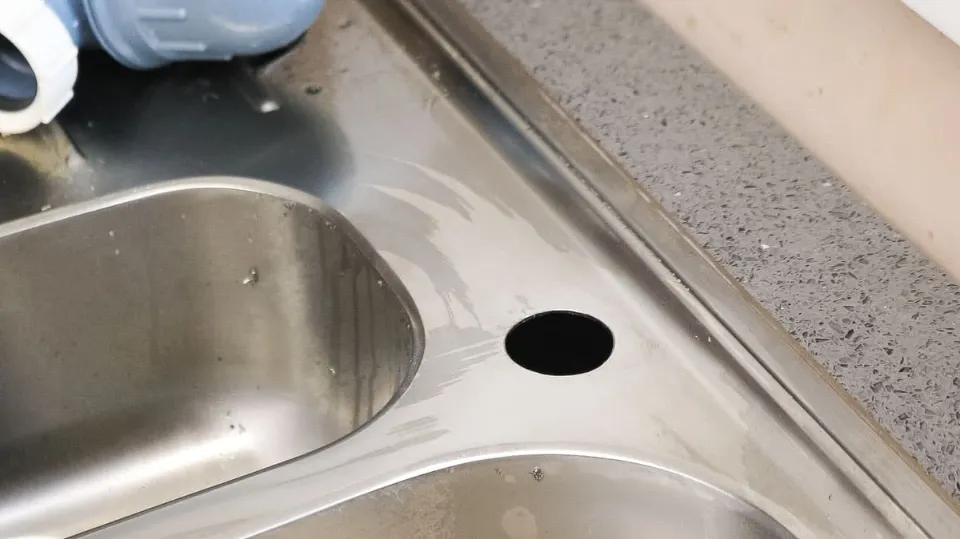
Place the escutcheon plate over the additional holes if you are changing a three-hole faucet for a one-hole faucet. To make sure the plate is watertight, adhere to the manufacturer’s instructions. It might be necessary to cover the holes with the included rubber gasket before setting the plate on top. Often the plate will need to be caulked or sealed with plumber’s putty.
Put the New Faucet Line through the Hole
The faucet line should be fed through the hole after being adjusted to the correct position. Place the washers and nuts underneath the counter and fasten the faucet using the provided hardware. After making sure the faucet is in the right place from above, tighten the nuts and brackets that come with it until the faucet is firmly in place.
Connect the Water Supply
Some modern faucets have supply lines attached with flexible tubing that has hot or cold labels on it. It’s up to you to attach them if yours doesn’t. Before connecting each to the hot and cold water supply valves under the sink, wrap the threads counterclockwise in Teflon tape.
Check the Installation for Leaks and Clean Up
Restart the water supply line very gradually while being cautious to look for leaks. Before testing again, make adjustments like tightening any connections and checking the Teflon tape.

How Do I Choose the Right Faucet?
When selecting the ideal faucet for your kitchen or bathroom, there are a few things to keep in mind.
Height
I couldn’t stand how low my old kitchen faucet was! Filling or washing them was quite a task as it was too short to fit a large pot underneath. You can fit these larger items with more space if your kitchen faucet is taller.
But in our upstairs bathroom, I had the opposite problem! I had to look for something much shorter than the standard height because the medicine cabinet couldn’t open with a tall faucet installed.
Finish
Consider the metal finish of the rest of the room when choosing a finish for your new faucet. Select a complementary color by keeping an eye out for the cabinet door and drawer handles.
You might also want to consider how fingerprints and water stains will affect the faucet finish. Some faucets have a coating that resists stains, keeping them looking clean for longer!
Number of Holes in the Sink Deck
Before going to buy a new faucet, take a look under your sink. If there’s a deck plate installed under the faucet neck, there’s a good chance there’s more than one hole hidden underneath. It’s better to be aware of what you’re dealing with right away to prevent any surprises during installation.

FAQs
Do I Need a Plumber to Install a New Kitchen Faucet?
Yes, replacing a faucet is an easy DIY plumbing project that virtually any homeowner can take on. Although we don’t advise just anyone to attempt to replace a faucet, if you are handy with a wrench and know how to turn off the water to your sink, replacing a faucet is a simple process.
How Difficult is It to Replace a Kitchen Sink Faucet?
It’s not that tough to do. For a sink that is clamped down, loosen the screws on the bottom of the rim. For a sink that is drop-in, use a utility knife to cut the caulk between the sink and countertop and lift the sink out. In order to release the old faucet, you can then use a pipe wrench or locking pliers to attack those nuts.
Read about What is a Ghost Kitchen?
Summary: How to Replace a Kitchen Faucet?
To breathe new life into your kitchen, you don’t need to remodel it. The replacement of your kitchen faucet is a simple update that takes little time and effort if you have the right tools on hand and some inspiration.
You are supposed to choose an appropriate replacement faucet, shut off the water valves, prepare your workspace, remove the old faucet, install the escutcheon (deck) plate, put the new faucet line through the hole, connect the water supply, check the installation for leaks and clean up.
Thank you for reading.

