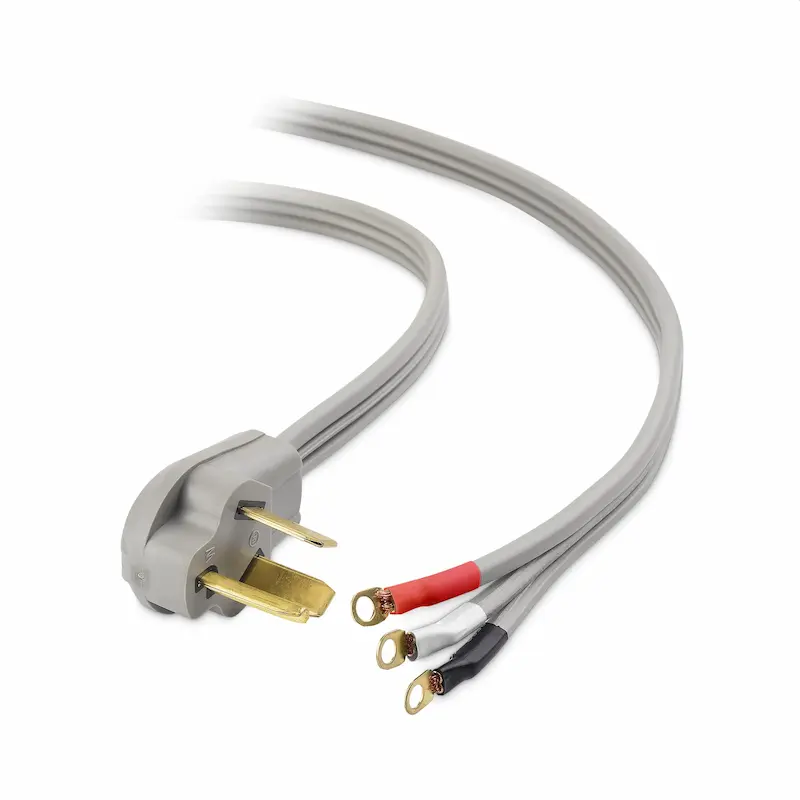
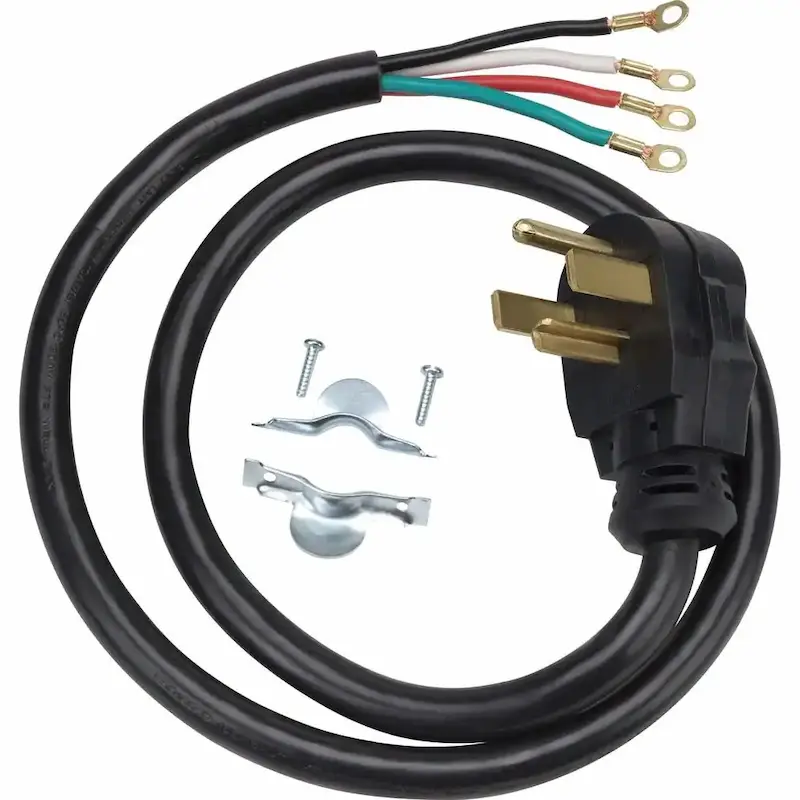
So, how to connect the 3 prong dryer into the 4 wire setup?
The grounding wire won’t be used when connecting the 3-prong dryer. The neutral wire, two hot wires, and three prong dryer outlet will all be connected.
Let’s take a more thorough look at the subject.
What is a Dryer Cord and Outlet?
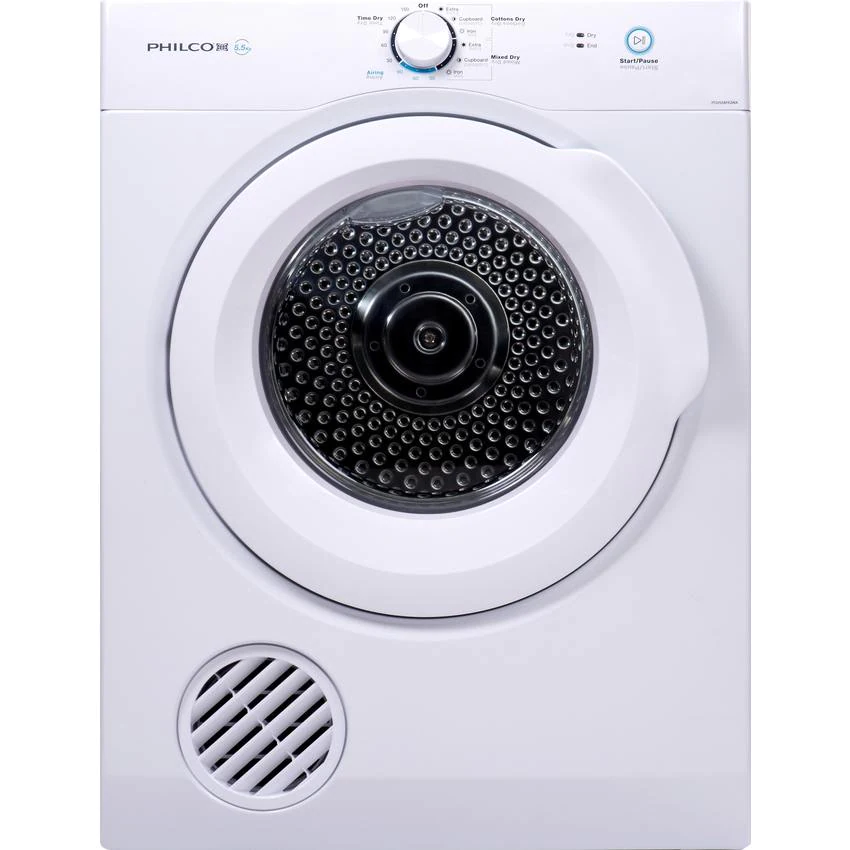
A specific kind of power cord is a dryer cord. It is applied to the electric dryer or washing machine. The female port where the dryer cord is plugged in is referred to as the dryer outlet.
Types of Dryer Cords:
According to the number of prongs, there are primarily two types of dryer cords. They are:
- 3 prong dryer cord
- 4 prong dryer cord
What is a 3 Prong Dryer Cord?

This particular dryer cord has three prongs, or three wires, inside of it. Two of them are hot wires, and the third is a neutral wire.
A three-prong outlet is one that can accommodate a three-pronged dryer cord.
What is a 4 Prong Dryer Cord?

This particular dryer cord has 4 wires and 4 prongs. In contrast to the three-prong cord, one of them is neutral and the other two are hot.
Similar to this, a 4 prong outlet is one that can accommodate a 4 prong cord.
How to Wire a 3 Prong Dryer Outlet to a 4 Wire Install?
The two hot wires must be connected to their corresponding terminals on the outlet in order to wire a dryer with three prongs. A ground strap is used to connect the ground and neutral before connecting them to the outlet’s neutral terminal.
Procedure:
Step 1: Power off the main switch of the outlet
Step 2: Open the outlet, then remove the terminal screws. Figure 4’s depiction of three terminals will be visible.
Step 3: Take the 4 wires and peel off the insulations from the edge of the wires
Step 4: The red and black hot wires should be connected to the outlet’s hot prongs in the manner depicted in the figure.
Step 5: To the neutral terminal of the outlet, attach a ground strap or jumper.
Step 6: Connect the ground wire to the jumper and the neutral wire to the 3rd prong as shown in the figure
Alternative Procedure:
You can omit connecting the ground wire while keeping everything else the same. The steel body of the outlet can be used to establish a ground connection. Before 1996, the house’s electrical plans did not include a ground wire. The other 3 wires were utilized in the past. However, it is not a completely safe practice.
What Safety Precautions to Take?
Electricity can put us in danger. Therefore, while using it, it is crucial to take the appropriate safety precautions.
In order to work effectively, keep your hands dry. Disconnect the breakers, and put on safety shoes. Before touching any bare wire, check for live lines using testers.
Knowing which wires are the hot ones is important because 4 prong installations have two live wires. Here, the neutral wire is not the black wire. The second hot wire is that one.
Is It Safe to Use a 3 Prong Outlet?
The use of a 3 prong dryer is not entirely secure. because there are two hot wires and a neutral. In order to complete the circuit, the current flows back through the neutral. But there are some drawbacks. Let me inform you of some relevant facts.
The neutral is used to finish the circuit. The device’s body was additionally once wired to the neutral. The neutral would be the path that any leakage current would take if it existed in the body.
However, the current is designed to flow through the least-resistive path. The user may occasionally become conducted to the stored current in the body if he touches the device with wet hands and bare feet. Disasters may result from this.
All house electrical designs must include a grounding wire, according to a 1996 code that was approved in order to prevent such outcomes. The four-prong dryer system was consequently introduced. For the leakage currents, it has a ground wire attached to the device body.

How to Convert a 3 Prong Dryer to 4?
The simplest alternative, assuming you have an (old)code-legal dryer outlet, is probably to simply replace the cord (on your dryer).
It is true that 3- and 4-prong cords function similarly; therefore, all you need to do is swap out the cord. Also, keep in mind that the voltage provided by a 3-prong cord is 240 volts, the same as the voltage supplied by a 4-prong cord.
The fact that the latter separates the neutral and ground wires from the former’s three prongs is really the only significant distinction between them.
Here is what to bear in mind:
You must first remove the three wires (from your old cord) in order to begin the steps.
Next, remove the metal object or accessory (technically known as a strain relief bracket) that is fastened to the green wire.
In order to move the white wire from the appliance and the white wire (neutral wire) from your new 4-prong cord to the middle post, first unscrew the white wire from the appliance.
While black (L1) should go to the left and red (L2) to the right, the ground wire (green) should go where your old white wire was.
Now that the strain relief bracket is attached, remove the two screws and insert the side screws on the bottom, with the small part going straight through the hole.
You will then redo the same with the top one(so they’ll be sandwiching the wire)
Before you put screws in (and tighten it), it’s crucial to make sure the wires have a little bit of play (at least 1/4&Prime);.
Recovering the cover is all that is required at this point to complete the task.
Conclusion
Four prong dryer outlets are the new generation and have been upgraded. Still, 3 prongs are occasionally used for the older machines. Reading the article will demonstrate how simple it is to convert between the two.
If you have a three-pronged dryer, I hope you can now wire your own outlet and save your family’s life. As you work, take care. Good luck.
Read about How Wide is a Washer and Dryer?


